Wednesday, September 02, 2015

Green Roof Phase 2 Update

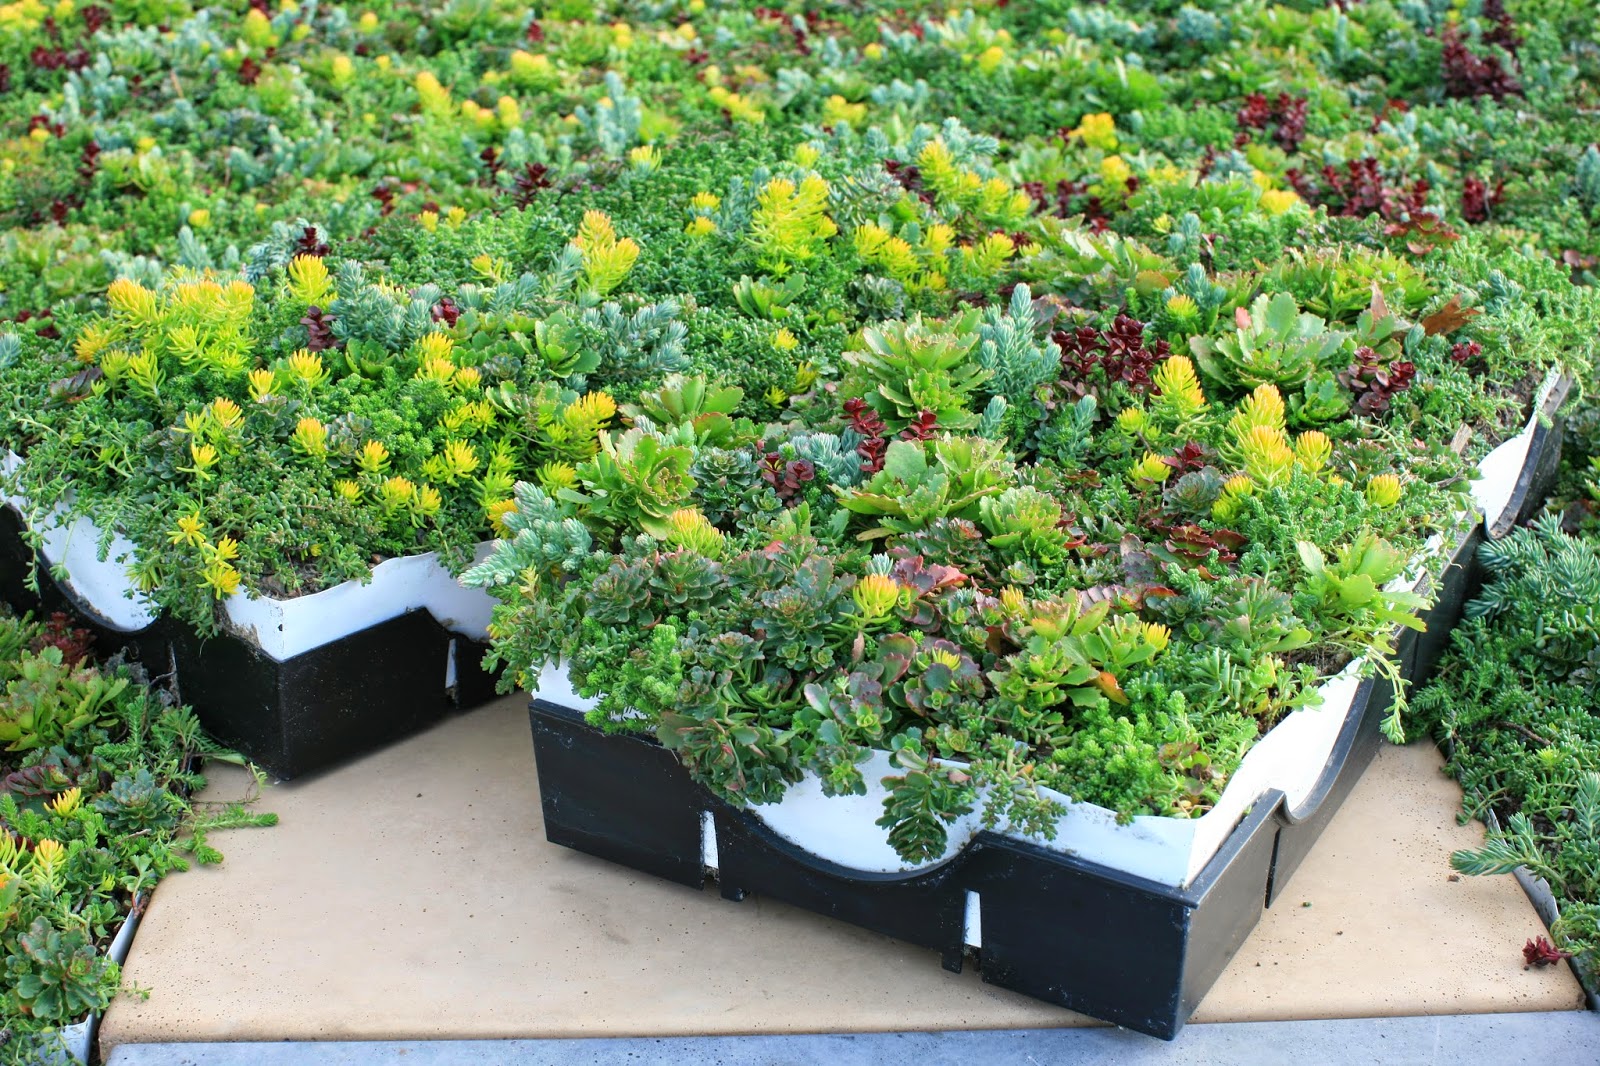
I'm pretty pleased with my progress on the green roof this year.  57 more modules planted and up on the  roof.  The majority were planted with Aleutian Speedwell, which I expected to fill in nicely.  However we had a very hot and dry summer, and they got a bit fried.  But I'm still hopeful.  There are lots of little speedwell plants starting to show up.  If we don't get a lot of ice this winter, and they survive, I think next summer will be much better for them.

Anyway, Greg was here yesterday and got the modules lifted up to the roof.  Today I moved around some of the rubber pavers for my paths, and laid down more root barrier, then arranged the modules.

Next year, Phase 3 should be the last of the modules.  I'll have to re-calculate, but I'm thinking I only need 52 more.  Then Phase 4 in 2017 will involve more pavers to fill in the walking paths, and some trim!


Phase 1, modules & pavers from 2014

Phase 2, all the modules from 2015.  Rubber pavers re-arranged.

And, in addition to getting my modules up on the roof, I also got my alder pile from this spring burned. It's very dry here, and we had some gusty winds, so I kept the fire pretty small. It took about 6 or 7 hours to get it all burned and then bed of coals extinguished.

Sunday, June 07, 2015

Green Roof 2nd Summer

Thursday afternoon my pallet of growth medium (80% pumice and 20% coconut fiber) and half a pallet (50) of the GreenGrid modules arrived.  So I spent most of Saturday afternoon and a good portion of today, getting them all planted.

Last year I planted a variety of sedums, but this year I decided to try a local plant, the Aleutian Speedwell.  It's a pretty ground cover plant with purple flowers.  It's known to get out of control in peoples rock gardens, but I'm looking for a lot of coverage, so most of the modules I planted this year all contain it.

Gloria pulled some of it out of her garden for me, and I had great luck last weekend in Anchorage at the Wildflower Club annual plant sale.  I bought all the Aleutian Speedwell they had for sale, plus several of the members either brought me a tray full from their gardens or let me dig some out of their gardens.  I was really amazed how everyone was willing to share.

Anyway, the mods are planted and I'm going to leave them on the driveway for the next couple of months so I can sort of baby them and make sure they get growing.   At least thats my current plan.  I had to chase a porcupine out of them earlier today, so if he comes back I may need to get them up on the roof and away from his depredations. 

Tomorrow I really need to get my new ladder set up so I can get on the roof and see what survived the winter.

Pallets Arrive

Everything is planted

Aleutian Speedwell

More Aleutian Speedwell

Wednesday, June 03, 2015

New Roof Ladder

I finally went into town this afternoon a bought a new 20" extension ladder rated for 300 lbs.  It's a bit more sturdy than the folding ladder I'm currently using.  So I spent the evening installing the safety handles, and the Lock n Climb feet to help keep it steady.  I'm rather a chicken when it comes to ladders and to heights, but I need fairly frequent access to my roof during this green roof project, which will take another couple of years.

Anyway, I'd purchased the safety handles and the Lock n Climb several months ago.  So I got the ladder home and unpacked my other boxes.  The safety handles were pretty easy to attach.  The ladder came with a plastic "Pro Top" attached, so I had to drill out the rivets and remove it.  But then the safety handles just slipped over the ends and clicked into place.  I just had to tighten the attachment knob so they don't slip.

Attaching in the Lock n Climb took a bit longer.  I don't know what it is about complex instruction sheets, but when I try to read one, my eyes immediately glaze over and I have no idea what any of those words mean...lol.  After several re-readings and looking closely at the pictures, I got started.  I had to drill a couple of holes in the ladder so I could run the bolts through, but it all went together fairly easily, if slowly.

The next step will be to take down the current ladder and put the new one in place.  But that may have to wait until Saturday.  It's going to take a couple extra people to maneuver it into place.

Safety Handles Attached

Big Parts

Small Parts

First legs attached

Lock N Climb all attached and half folded

Landscaping near the driveway.

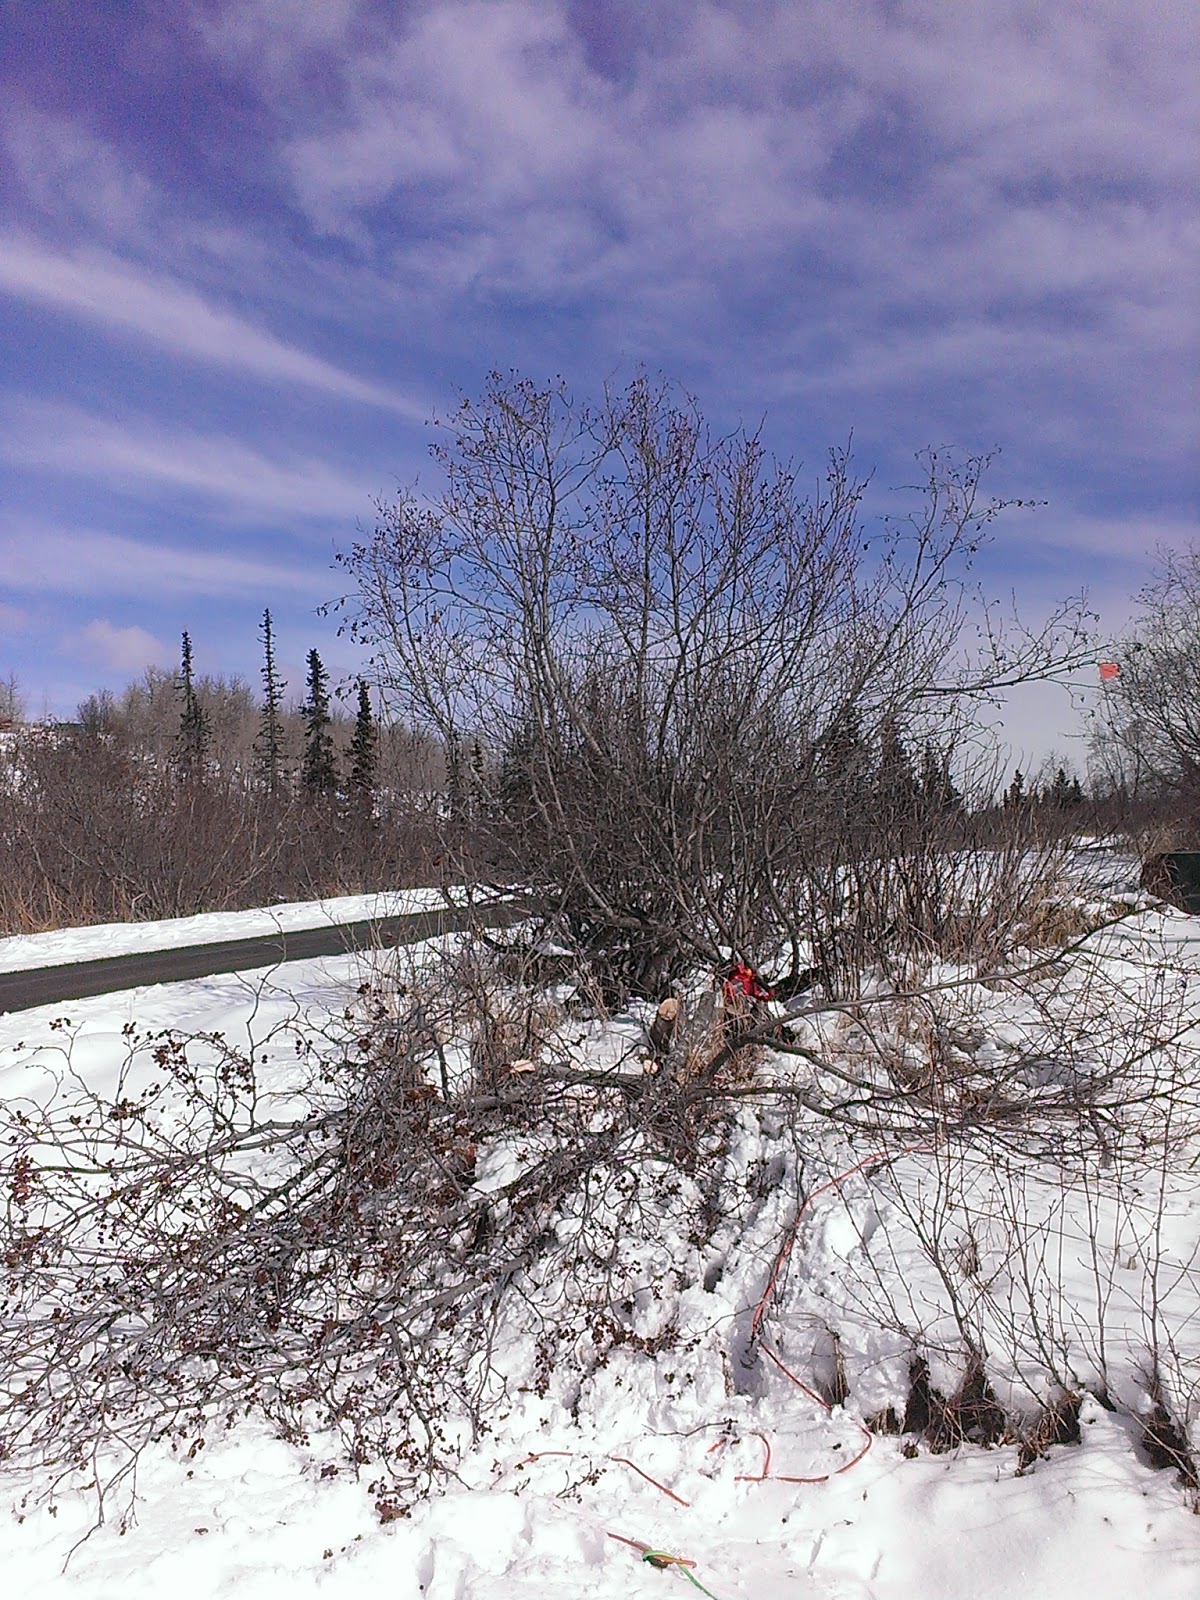
This spring I decided to take down a patch of scraggly alders at the top of my driveway.  When they leaf out in the spring, they are hard to see around, and they are pretty ugly.  So after an entire winter of almost no snow, we got close to a foot of spring snow the week I wanted to start this project.  At least I had a sunny April day when I got started.

In their place, I planted some pink rugosa roses that Linda dug out of her garden for me.  I'm hoping to have a nice rose hedge in a couple of years.  

Since I didn't have the stumps pulled, I'll need to do some alder clipping the next couple of years, until the roses can smother out the alder shoots.

I like my small chainsaw.

Stacking alder to burn later.

Done with day one

June 1st, 6 groups of roses planted.

Monday, September 29, 2014

Painting Project Interrupted

My weekend project was to clean out the closet by the back door, paint it, and get it organized.

What do you think?  It's definitely a long over due project.
However, like normal, this project got interrupted by something more fun. In this case it was a bucket of rose hips I picked a few days earlier.  I'd been cleaning up the yard at my apartments which included cutting back the wild roses.  I try to cut them back and clean them up every few years.  I've never seen the rose hips this thick, or so ripe, so I couldn't resist picking them.
Bucket of  Rose Hips


Then I had to decide what to do with them.  Messing around on line, I found a recipe for Rose Hip Marmalade (Jam)  It sounded interesting, so I decided to give it a try.
http://www.simplyrecipes.com/recipes/rose_hip_jelly_and_jam/

These wild rose hips aren't very big, and I had a lot of them, so it took hours and hours and hours to get them all cleaned.  But boy were they pretty when I got them done.
Cleaned Rose Hips
Then I had to de-seed the 2 quarts of them to use in the marmalade.  And that took many more hours.  But finally I got them done, and cut up the other fruit, and got it all cooking. WOW, did it smell good.  The marmalade is a bit spicy tasting, and maybe a bit too sweet.  IF I make it again, I'll try cutting back the sugar a bit. But I'm happy with how it all turned out, though the whole process took me two days.
De-seeding


Marmalade Cooking
And then I had lots of rose hips left over, so I cooked them down and tried to make some jelly.  That went a bit faster since I didn't have to de-seed the rose hips first.  That rose hip juice is pretty tasty, and but the jelly came out as syrup.  I'm not sure why, but I like to make waffles, so now I have some rose hip syrup to serve with them.
Finished Products
But that still left me with my planned project undone.  So Sunday afternoon I took everything out of the closet and noticed the sheet rock had separated in the corner.  I'm blaming that on earthquakes...lol.  So I got out my roll of sticky fiberglass stuff, and mud and fixed up the corner.
Wet Mud in corner


Then today when I got home, I got the closet painted, with minimal paint splattering.  
Clean painted closet
The paint dried pretty fast, so I put up the closet hanging thingies I bought at Home Depot last week. I got all of my yard tools and chainsaw hung up.  And there is still room for the folding ladder when I bring that inside.  I may eventually add a small shelf, but for now I'm happy that it's all cleaned up and organized.


Wednesday, September 03, 2014

GreenGrid Modules on the roof!

Today we got the GreenGrid modules up on the roof.  YAY!!! http://www.westonsolutions.com/services/green_buildings/greengrid.htm

Thanks to Greg Collins it was a pretty quick endeavor.  Greg & Terry brought the skid steer up to my house.  We loaded the planted modules onto a pallet.  Greg then lifted them up to the level of the roof, and Terry pulled them off the pallet.  That part took about an hour.

Once the guys left, Valda held the ladder for me.  I went up on the roof, re-arranged the rubber pavers a bit.  Then I laid out more root barrier and put the modules in place.

There are 12 empty modules that need to be planted next spring, so there are some 'holes' in the layout.  I put a few of the pavers in those openings to hold the root barrier fabric in place over the winter.  And the walking path that divides the 2 sections needs to be added.  I hope to get those rubber pavers cut to size and put in place later this month.

And there are 4 unplanted modules on the roof.  Once it starts to freeze (which could be any day the way our weather has been this week), I'll sprinkle the sedum seeds I bought in them, and hope the come up and grow in the spring.  

And we even got a few hours of sunshine.  It was cloudy and cold this morning, the sun 'came out' about an hour before Greg & Terry showed up.  Now it's getting cloudy, should be raining by midnight.  I'm glad I didn't have to get up on the roof in the rain.

Mods onto the pallet

Lift the pallet to the roof

More mods to the pallet

Mods lined up by Terry

Root barrier down

Mods mostly in place.  Empty mods in lower
right corner, waiting for seeds.

Another pic of mods in place & extra pavers filling 'holes' until spring.

Walking path waiting for cut to size pavers

View from driveway - section 1 is 75% done.

Tuesday, September 02, 2014

Sedum Update

Back in June I started planting my first set of GreenGrid modules with a variety of sedums.  They've grown pretty well, I'm happy with the way they are growing and spreading.  Hopefully they will continue to spread next summer and fill in the modules.

Here are a few fall pics, you can see how they've changed color as the temperatures have dropped.  And most of them have bloomed.  Some of the blooms are teeny tiny, but they're really pretty when you take the time to look.

This is one of the Hen and Chicks, looks just like it did when I planted it.

And this is one of the Hen and Chicks that now looks like an
Alien invader or body snatcher.

Pretty yellow flowers.

This one turned a great red, and has a bunch of pink flowers.

Yellow Flowers - and a little bit of thyme still blooming
in the lower right corner.

Fall colors and tiny white flowers.

Saturday, July 12, 2014

Green Roof - 1 month updated

So far the my green roof project is going well.  A month after first planing, my plants are well rooted and starting to spread.  In particular the thyme with it's purple flowers are really spreading.  
The violas don't really belong in here with the sedums,
but I couldn't resist adding a few of them.

Purple flowering thyme.

This is only about 2/3 of the modules I should have gotten planted this spring, but it will have to do.  In August I'll get them situated on the roof, then check on them next spring.  Some may need to be replanted.  Once I figure out what survived the winter, I'll start working on the next set of modules.

With some luck, they'll really fill in over this summer and next, and eventually look something like these LiveRoof fully planted modules.


Tuesday, July 08, 2014

The pain of pavers...fixing a sunken paver walkway and steps.

A few years ago I had a rotten wooden sidewalk and steps torn out at my apartments, and replaced with interlocking pavers.  I though they'd last longer, and be a bit more flexible.  I didn't want to pour concrete because I was convinced it would crack & break up with all the freeze & thaw it would go through.

Anyway, it all looked good the first couple of summers, but then then pavers started to sink down into the dirt, and the steps became very concave.  I spent the last couple of summers trying to hire someone to fix the mess for me, but no luck.  

So I finally decided to work on it myself. I stopped at Home Depot in Kenai and picked up some professional grade landscape fabric and some bags of washed sand.  As it turned out, I didn't pick up enough sand, but I got the 2 worst steps redone, and it really wasn't that bad of a job.  I really hope that using the landscape fabric under the sand will stop it from washing away and/or sinking into the dirt it covers.

Step 1 - pry up the pavers.  Once I can get the first one out, the rest come out pretty easily.  This isn't a very good picture, but you can see that I have about half of the pavers out.  Lots of grass roots to pull out from between each one and clean them up a bit.
Step 2 - smooth out the existing dirt and sand and make a level surface.  Then put in a layer of landscape fabric, fill it with washed playground sand and level.
Step 3 - replace the pavers, in the same order they came out.  The original workmen cut some of the pavers to make them fit.  Since I don't have spares to play with, or a saw to cut new pieces, I needed to fit them back in.  It was much like doing a jigsaw puzzle, with the aid of a big rubber mallet.  

Step 4 - pour some of the sand on the step and brush it around so it fills in any of the cracks between the pavers.  This take a while, but should help keep the grass from growing back, at least for a couple of years.

Here is a picture of the final result.  As you can see the first 2 are looking ok.  They will settle in a bit more the next time it really rains.  The 3rd step currently in the worst shape.  But I'm out of sand so will need to pick up a couple more bags when I'm home next time, so I can finish up this project later this summer.
Here is a picture of the peonies.  Again its a bit over exposed, but I took it with my phone.  I really love this peony plant.  It seems to really like this spot.
And then later this evening when I finally got home, I put up the house numbers I ordered last fall.